


Actions are the series of processes that you can perform when an event gets triggered.
In this documentation, you’ll learn about all the actions you can define within your workflow.
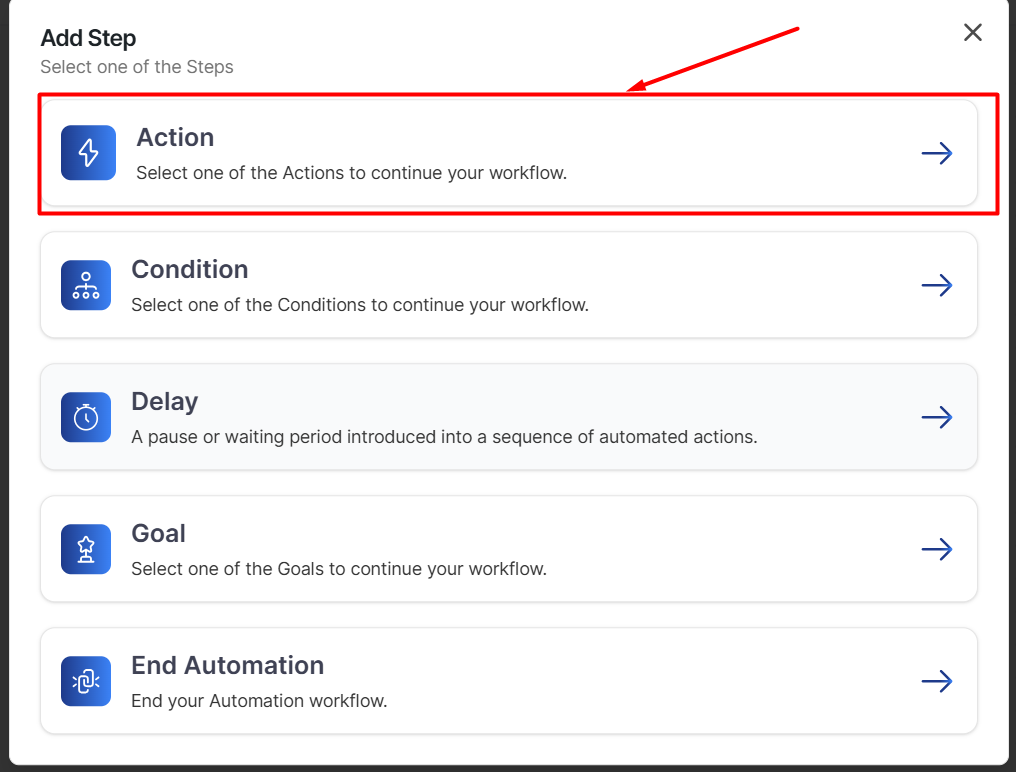
Click on the + button, and a pop-up window will appear showing the available options: Action, Condition, Delay, Goal, and End Automation.

Contact Actions
These core actions manage contact properties directly within your CRM.
- Add Tags — Add one or more tags to the contact.
- Remove Tags — Remove specified tags from the contact.
- Add to Lists — Add the contact to one or more lists.
- Remove From Lists — Remove the contact from specified lists.
- Change Status — Update the contact’s subscription status (e.g., Subscribed, Unsubscribed, Pending).
Deal Actions
These actions let you create and manage deals directly from your automations. They bring enhanced functionality and control to your sales pipeline workflows.
- Add a Deal — Create a new deal for the contact. Specify the pipeline, stage, title, value, owner, and status.
- Add a Deal Note — Add a note to an existing deal associated with the contact.
- Update Deal Custom Field — Modify a specific custom field on the contact’s deal.
- Update Deal Owner — Assign the deal to a different team member.
- Update Deal Stage — Move the deal to another stage in your pipeline (e.g., Qualified → Proposal Sent).
- Update Deal Status — Change the deal status (Open, Won, or Lost).
- Update Deal Title — Edit the deal’s display title.
- Update Deal Value — Update the monetary value of the deal.
Email Actions
Send emails to contacts directly from your automation workflow.
- Send Email — Send a one-off email to the contact. Compose the subject and body using the built-in editor, with support for merge tags for personalization. The email is sent using your configured Mailbox sending identity.
- Send Campaign Email — Send a pre-designed campaign email template to the contact. Select from your existing campaign templates. Useful for sending polished, reusable emails like welcome sequences or promotional offers. Skips contacts who are not subscribed and prevents duplicate sends of the same template.
- Send Email Sequence — Enroll the contact into an email sequence — a series of timed emails sent automatically over a period. Each email in the sequence is sent with configured delays between them.
Send Email Action Fields
When configuring the Send Email action, you can set:
- Subject — The email subject line. Supports merge tags (e.g.,
{{contact_first_name}}). - Body — The email body. Use the rich text editor or the email builder. Supports all available merge tags.
- From Name — Override the default sender name for this email.
- From Email — Override the default sender email address.
- Reply To — Override the default reply-to address.
Using Email Actions with the Email Received Trigger
When your automation uses the Email Received trigger, you can create powerful auto-reply workflows. The following merge tags from the Messaging group become available inside your Send Email action:
{{messaging:email_subject}}— The subject of the email the contact sent you.{{messaging:message_body}}— The full body of the email the contact sent you.
Combined with standard contact merge tags, you can create personalized auto-replies. For example:
- Subject:
Re: {{messaging:email_subject}} - Body:
Hi {{contact_first_name}}, thanks for your email. We received your message and will get back to you shortly.
This is a common pattern for automated acknowledgment replies, out-of-office responses, or routing notifications to your team.
Messaging Actions
Reach contacts through SMS and WhatsApp directly from your automations.
- Send SMS — Send an SMS message to the contact’s phone number. Requires a Twilio connection to be configured. Compose the message body with support for merge tags.
- Send WhatsApp — Send a WhatsApp message to the contact. Requires a WhatsApp Business API connection. Select from your approved WhatsApp message templates.
Send Data Actions
Push data to external services and tools from your automations.
- HTTP Request (Webhook) — Send a custom HTTP request to any external URL. Configure the request method (GET/POST), headers, and body. Useful for integrating with any third-party service that accepts webhooks.
- Zapier Webhook — Send data to a Zapier webhook URL to trigger Zaps. Connect QuillCRM to thousands of apps through Zapier.
- Send to Slack Channel — Post a message to a Slack channel. Useful for notifying your team about important CRM events (e.g., “New deal created for John Doe worth $5,000”).
WordPress User Actions
Manage WordPress user accounts from your automations.
- Create User — Create a new WordPress user account for the contact with a specified role.
- Update User Role — Change the WordPress role of an existing user (e.g., Subscriber → Customer).
- Remove User Role — Remove a specific role from the WordPress user.
- Update User Meta — Update a custom user meta field with a specified value.
WooCommerce Actions
If WooCommerce is active, these actions let you manage orders and coupons.
- Add Order Note — Add a note to a WooCommerce order associated with the contact.
- Change Order Status — Update the status of a WooCommerce order (e.g., Processing → Completed).
- Create Coupon — Generate a dynamic WooCommerce coupon for the contact. Configure discount type, amount, usage limits, and expiry. The coupon code is available as a merge tag to include in follow-up emails.
LMS Actions
If you use a Learning Management System, these actions manage course enrollment.
- LearnDash — Add/Remove User to Course, Add/Remove User to Group.
- Tutor LMS — Add/Remove User to Course.
- LifterLMS — Add/Remove User to Course, Add/Remove User to Membership.
- LearnPress — Add/Remove User to Course.
Third-Party CRM Actions
Sync contacts and data with external CRM and email marketing platforms.
Available integrations include HubSpot, Mailchimp, ActiveCampaign, ConvertKit, Drip, GetResponse, Keap (Infusionsoft), Klaviyo, MailerLite, Mautic, and more. Each integration provides actions like adding contacts, updating fields, adding/removing tags and lists.
See Third Party Integrations for setup details.
Adding an Action to Your Workflow
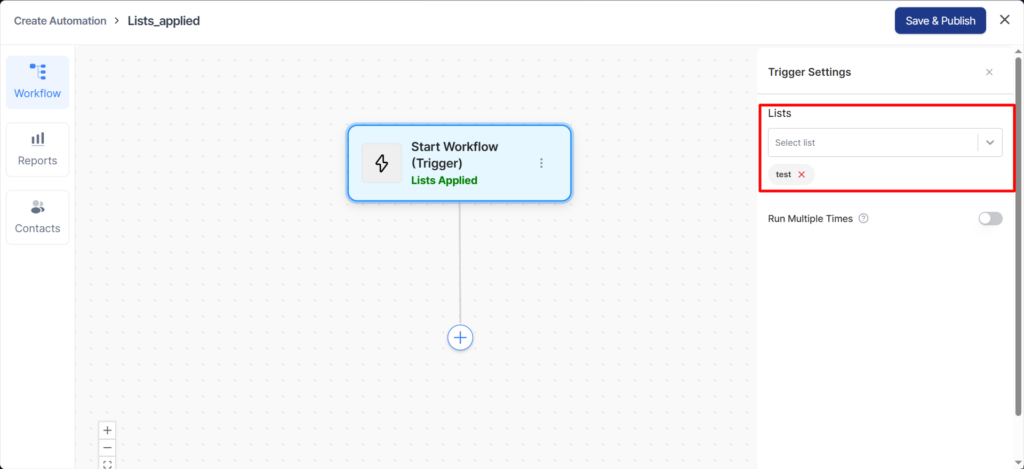
This trigger fires automatically when a contact is added to the list named “test.”
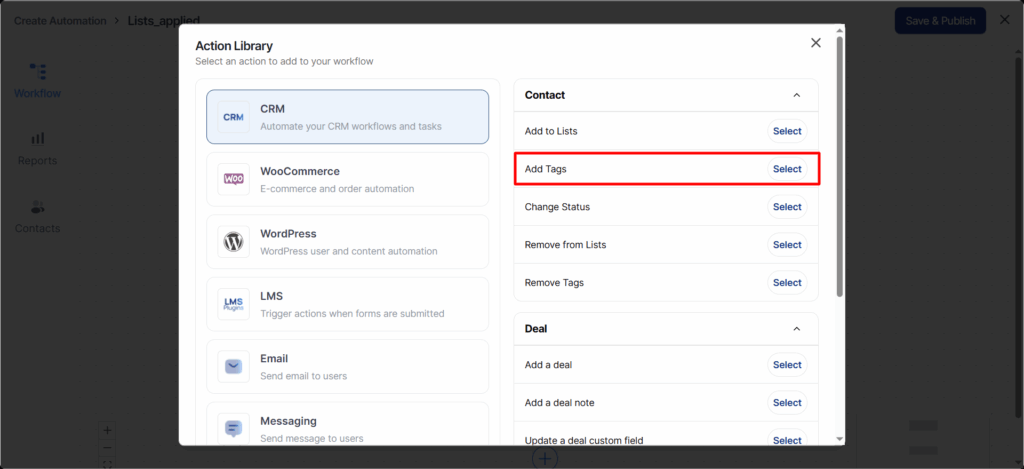
Select the action category and choose the specific action you want to perform.
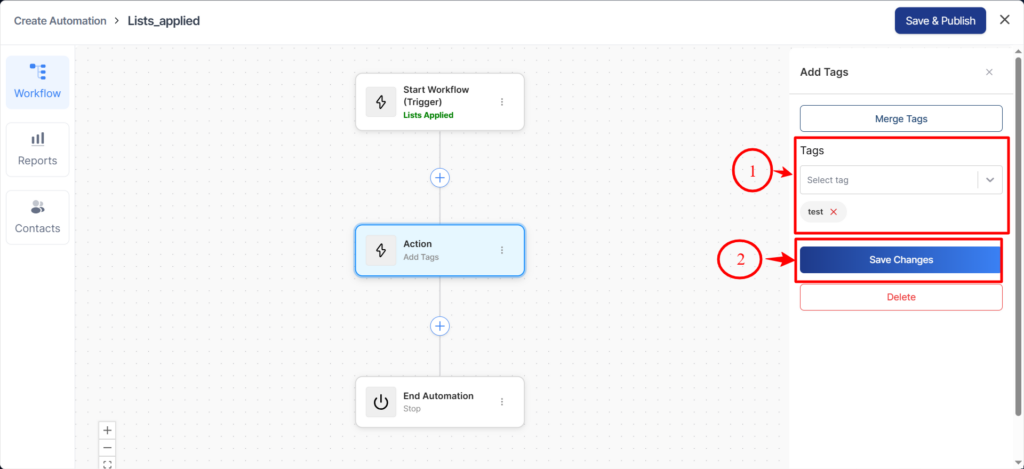
For this example, I will select the Add Tags action.
Now, if you run another automation to add a list on any contact or even manually add a list to them, they’ll get added to your list.
You can even assign a specified list to trigger this automation when configuring your event.
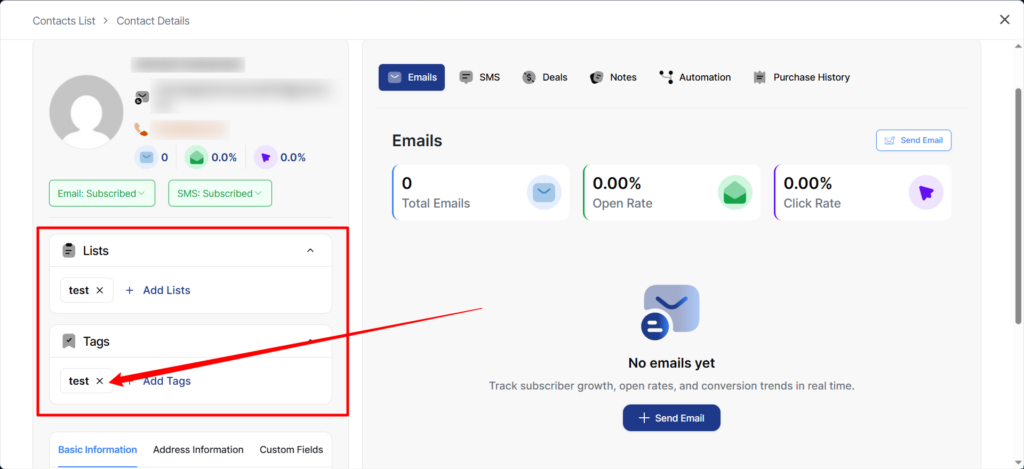
When you open the automation, you will see the contact added in the Contacts tab. You can also view the journey and the steps that were processed for this contact.
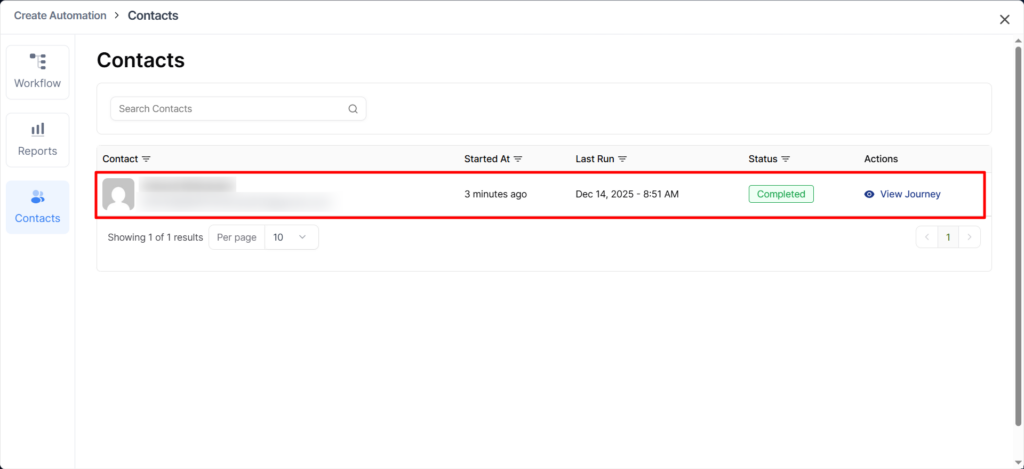
Click on View Journey to see the step-by-step progress for this contact.
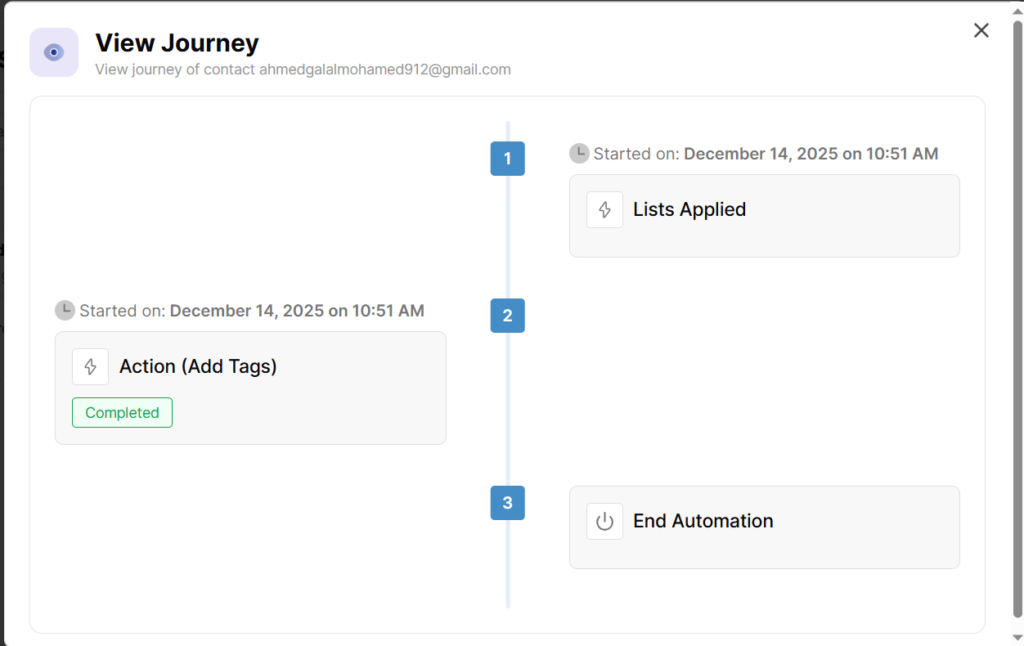
This means the automation successfully works!
You can set up conditions in QuillCRM Automations as well. We have discussed it in the next document.