


QuillCRM Automations allows you to create, send, and personalize your coupon codes.
This coupon can be personalized using the merge tags and later can be embedded in your email. Let’s see how:
Step 1: Create a “Cart Abandoned” Automation
Create a new automation and select the trigger event as ‘Cart Abandoned‘ in WooCommerce.
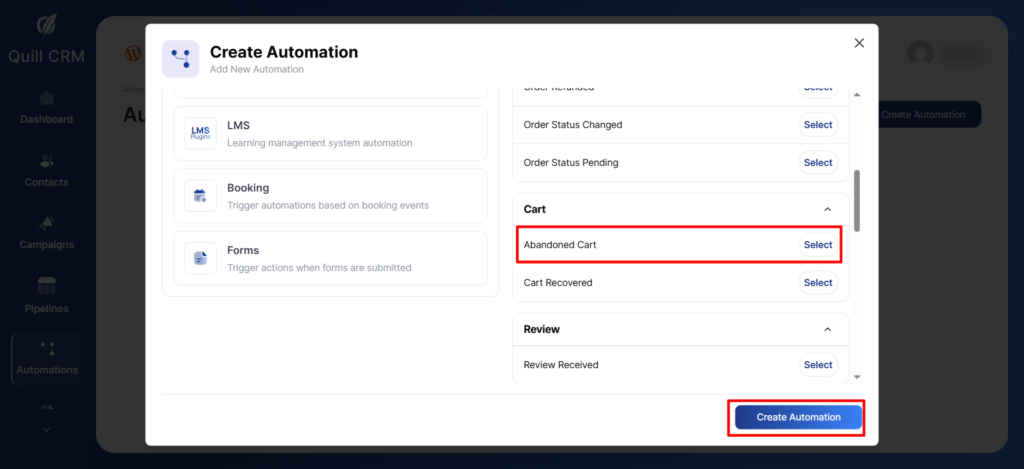
Step 2: Create the Coupon from the Actions
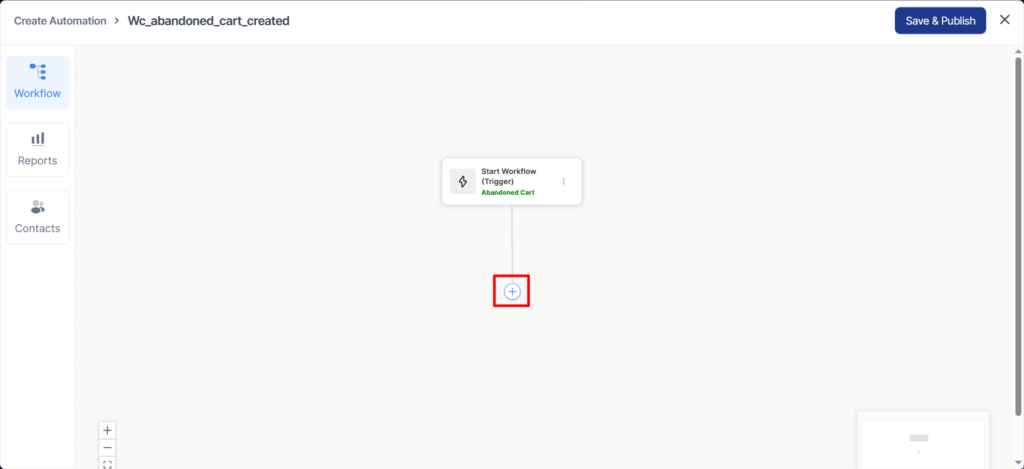
Add an Action that will take place when the event gets triggered.
Now, select Create Coupon as the action under WooCommerce.

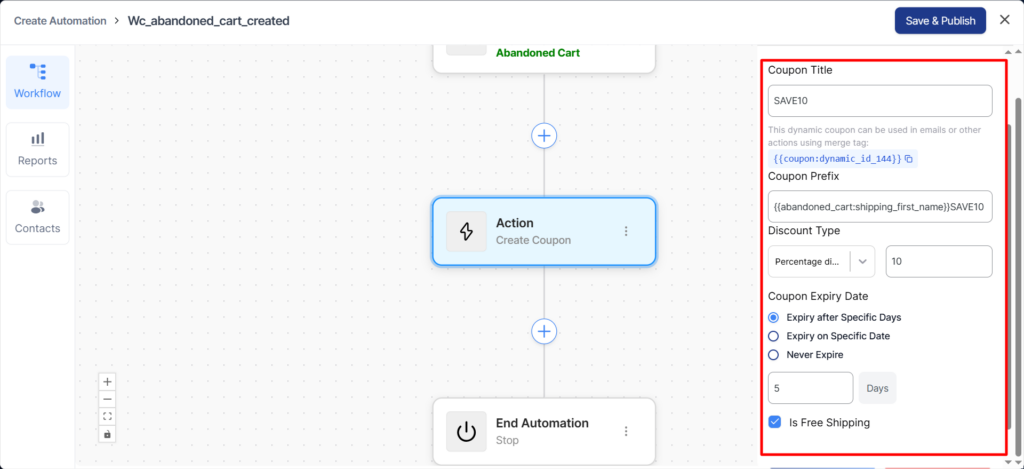
Next, set up the following options:
- Coupon Title: Name your discount coupon.
- Discount Type: Choose one of these:
• Percentage discount: e.g., 20% off the entire cart.
• Fixed cart discount: e.g., $10 off the total cart value.
• Fixed product discount: e.g., $5 off each eligible product. - Amount: Enter the discount amount or percentage.
- Coupon Code Prefix: Add a prefix; FunnelKit Automations generates the rest of the code.
- Coupon Expiry: Pick how your coupon expires:
• Expiry after Specific Days: Coupon lasts for X days after issuance. Example: Coupon issued on May 1 with 5 5-day expiry ends at the first second of May 7.
• Expiry on Specific Date: Coupon valid through the set date, expires at the start of the next day. Example: For example, if a coupon’s expiry is set to May 12, it stays valid all day until 23:59:59 on May 12, then expires exactly at 00:00 on May 13. This means the expiry date may show May 13, which can be confusing; it’s not an extra day. The coupon is NOT valid on May 13; it expires the moment the day begins.
• Never Expire: Coupon stays valid until you disable it manually. - Allow Free Shipping: Enable the addition of free shipping with this coupon.
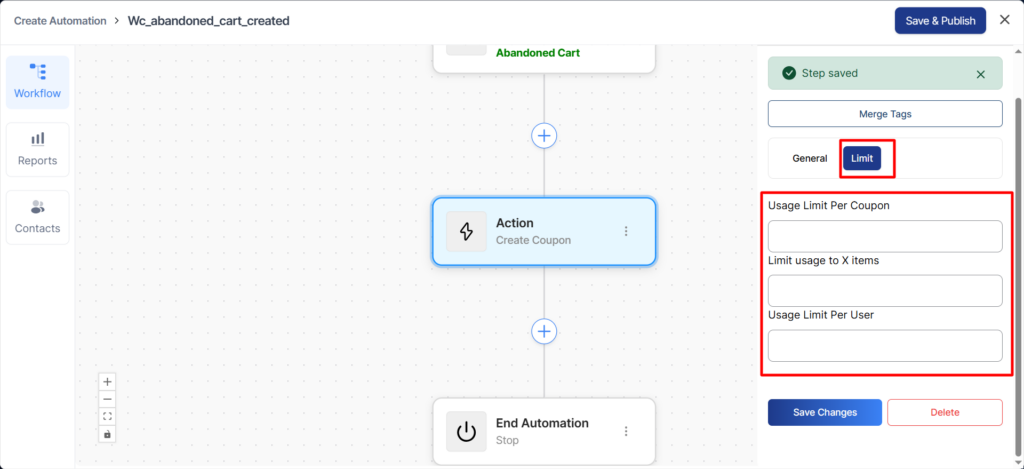
Next, move to the Limit tab to set up the following option:
- Usage Limit Per Coupon: Set the total number of times this coupon can be used across all customers.
- Limit Usage to X Items: Restrict the coupon to apply only to a specific number of items per order.
- Usage Limit Per User: Limit how many times each individual customer can use this coupon.
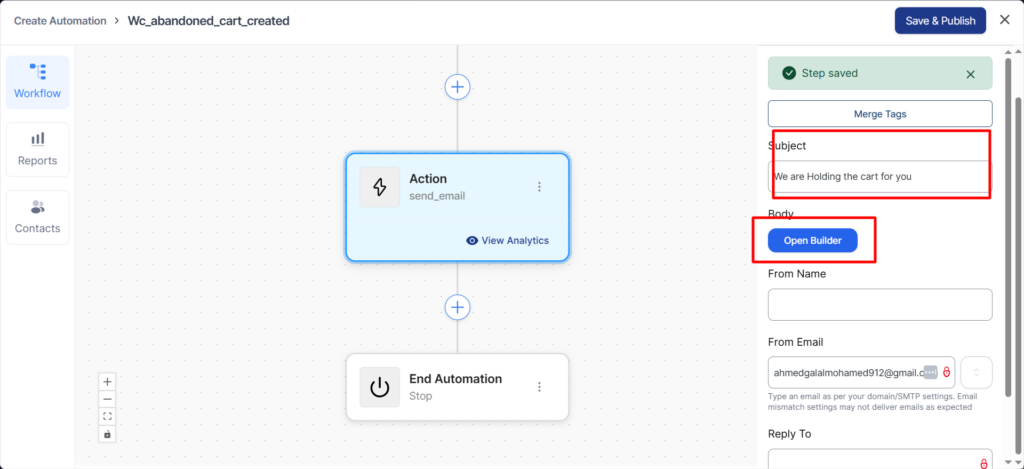
Step 3: Add ‘Send Email’ as the Action
Add an action by clicking on the blue Add (+) button.
Select ‘Send Email’ as your action.

Paste your coupon merge tag in the email body.
This message will be sent to you.
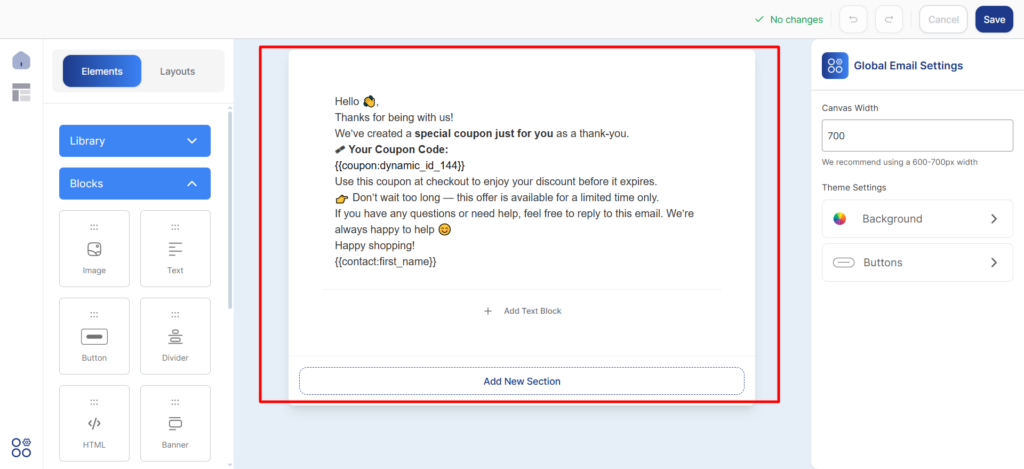
like this.
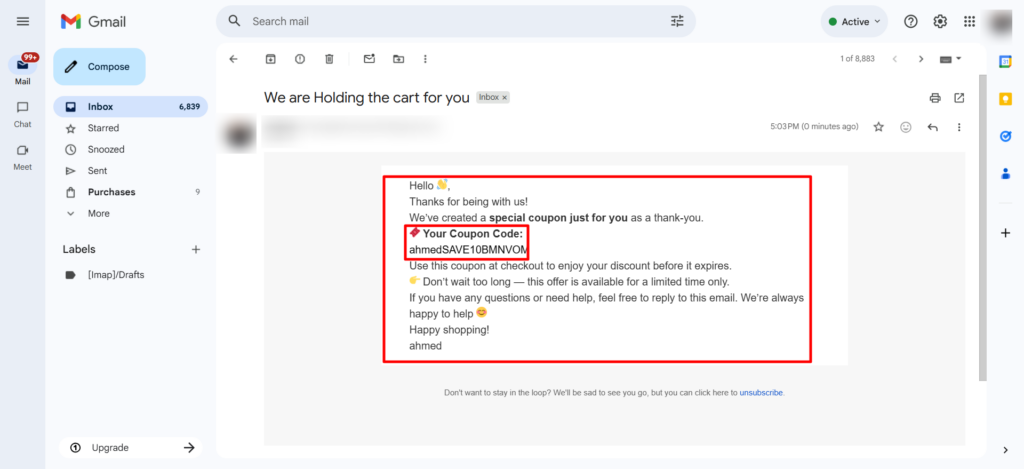
Your coupon code merge tag has successfully been added to the email.
Be sure to set up the delay in your subsequent follow-up emails for better impact.
This is how you can create personalized coupon codes for your users.