


Editing Link Triggers
To edit an existing link trigger:
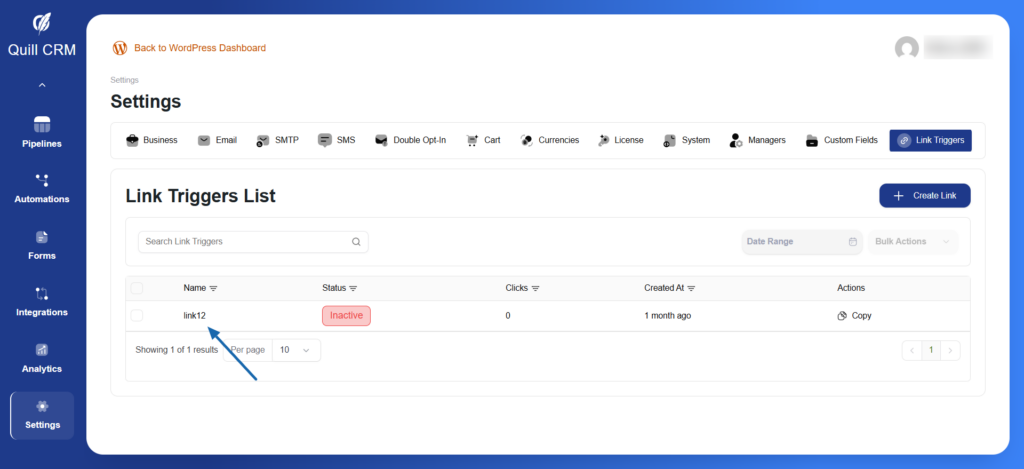
- From the Link Triggers List, click on the link name you want to edit
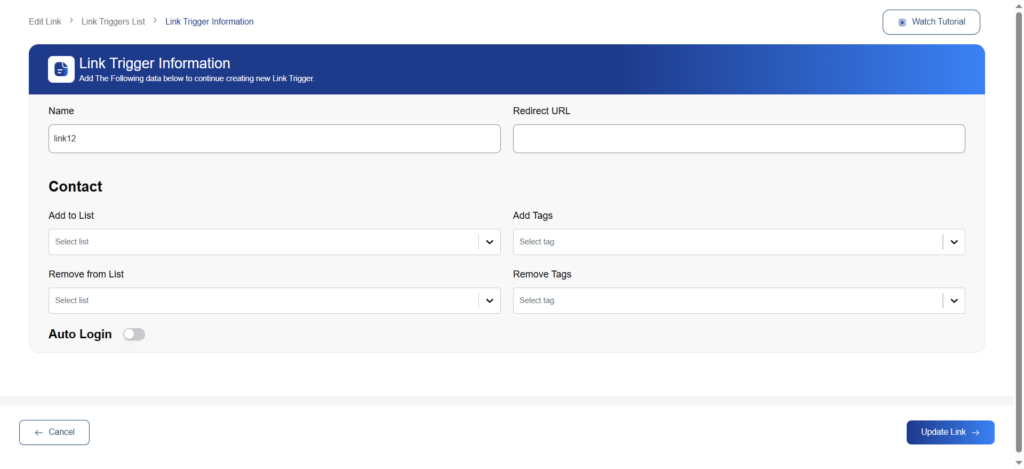
- You’ll be taken to the Link Trigger Information page
- Update any of the following:
- Name – Change the identifier for your link
- Redirect URL – Modify the destination URL
- Add to List – Update which lists contacts are added to
- Add Tags – Change which tags are applied
- Remove from List – Modify list removal settings
- Remove Tags – Update tag removal settings
- Auto Login – Enable or disable auto-login functionality
- Click Update Link to save your changes
- Or click Cancel to discard changes and return to the list
Important notes:
- Editing a link trigger affects all existing uses of that link
- Historical click data is preserved when you edit a link
- Consider creating a new link trigger if you need significantly different behavior
Copying Link Triggers
To use your link trigger:
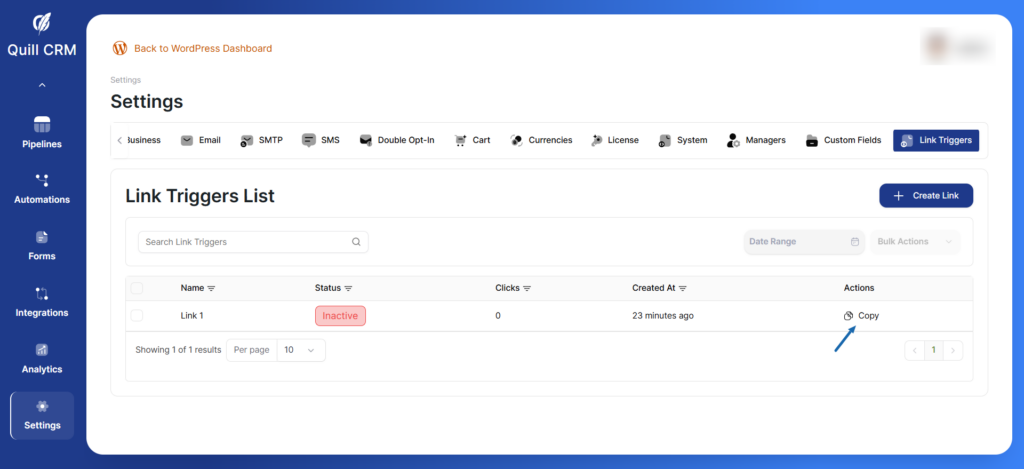
- Find your link in the Link Triggers List
- Click the Copy button in the Actions column
- The tracking URL is copied to your clipboard
- Paste it wherever you need it (emails, websites, social media)
Link Trigger URL Format
Your link trigger URL will look like:
https://yoursite.com/?qcrm_link=abc123xyzThis unique URL:
- Tracks every click
- Applies your configured actions automatically
- Redirects to your specified destination
- Works in emails, websites, and social media
Link Status
Links can have two statuses:
- Active – Link is live and tracking clicks
- Inactive – Link is disabled and not tracking