


The White Labeling addon lets you rebrand QuillCRM entirely — change the plugin name, admin URL slug, logo, colors, and hide QuillCRM-specific pages. Once configured, your clients see your brand everywhere, with no reference to QuillCRM.
Requirements
- QuillCRM Pro (active license)
- QuillCRM White Labeling addon plugin installed and activated
Getting Started
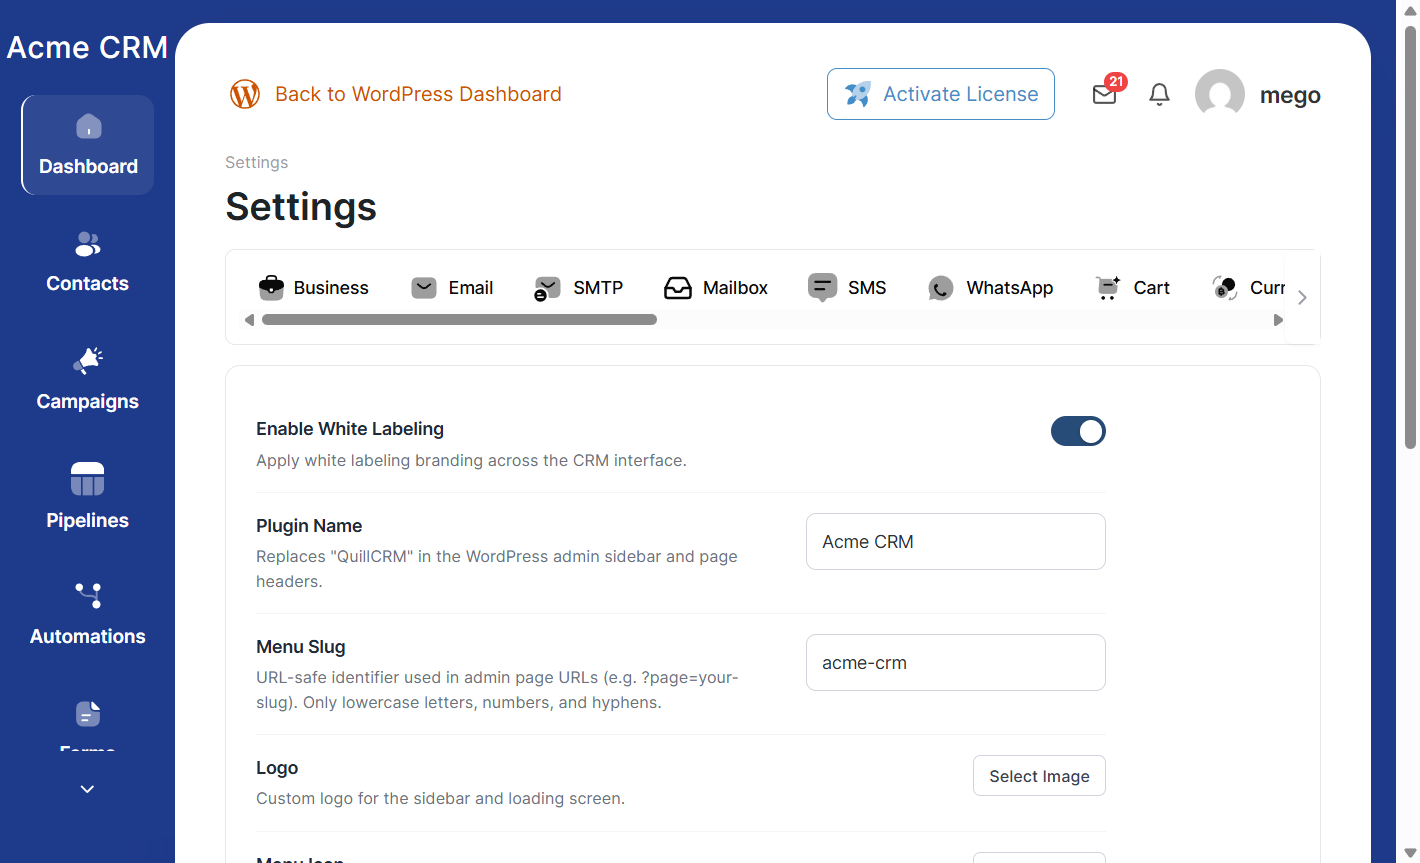
After installing and activating the White Labeling addon, navigate to Settings → White Labeling in the QuillCRM admin panel. Toggle Enable White Labeling to begin configuring your branding.
Settings Overview
Enable White Labeling
The master toggle. When turned on, all configured branding replacements take effect across the CRM interface.
Plugin Name
Replace “QuillCRM” with your own brand name. This changes the WordPress admin sidebar menu label, the SPA sidebar brand text, the loading screen text, and the page headers.
Menu Slug
A URL-safe identifier used in WordPress admin page URLs. For example, if you set the slug to acme-crm, the admin URL changes from ?page=quillcrm to ?page=acme-crm. Only lowercase letters, numbers, and hyphens are allowed. This field auto-fills from the Plugin Name but can be customized independently.
Note: The slug quillcrm cannot be used as a custom slug. When white labeling is enabled, a Menu Slug is required.
Logo
Provide a URL to your brand logo. This replaces the QuillCRM quill icon in the SPA sidebar and the loading screen. Use the media library button to upload and select an image. If left empty, only the plugin name text is displayed.
Menu Icon
Replace the QuillCRM icon in the WordPress admin sidebar menu. Provide a URL to a small icon image (recommended: 20×20 px SVG or PNG). If left empty, the default QuillCRM icon is used.
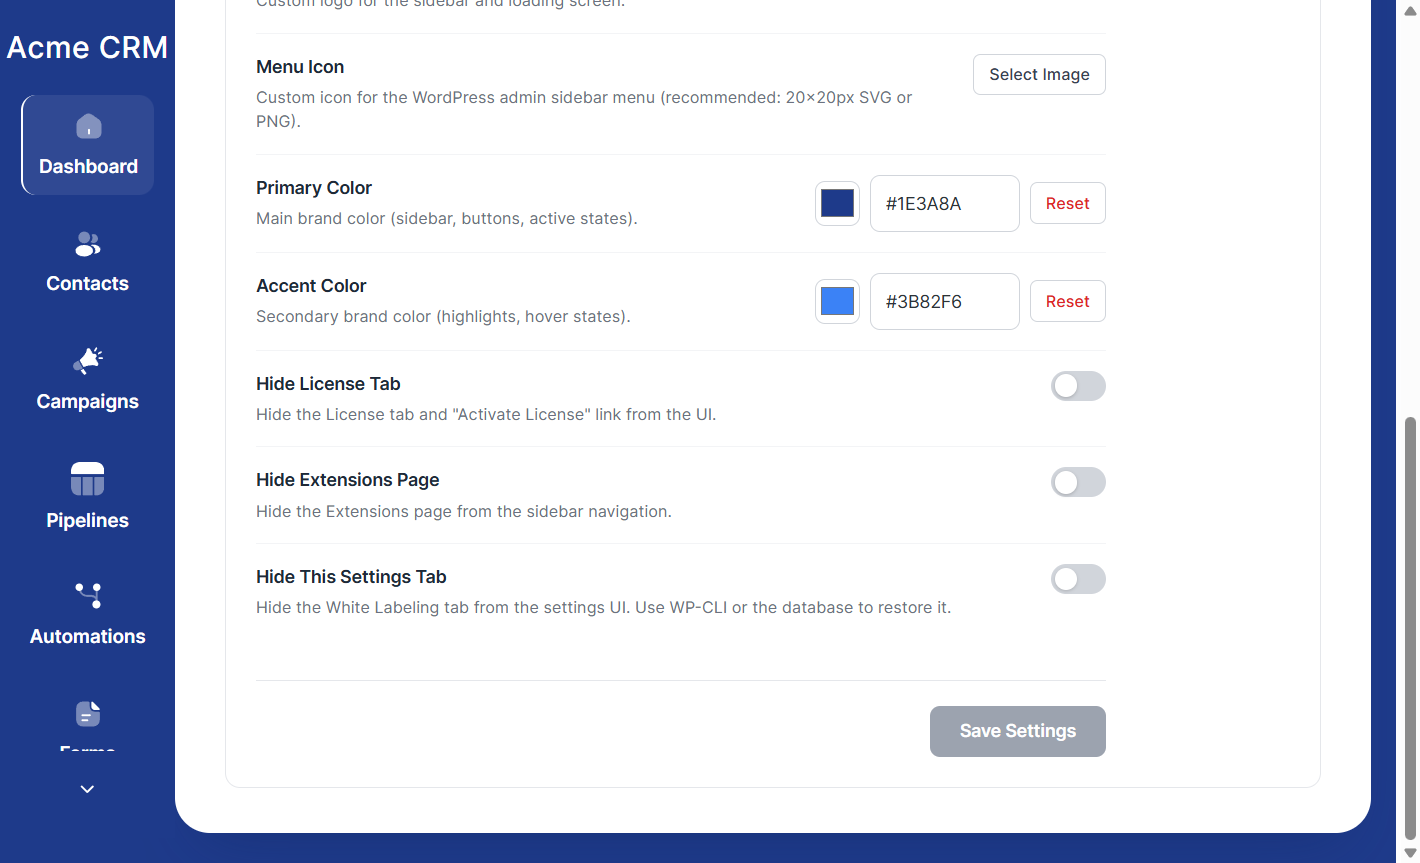
Primary Color
Sets the main brand color used for the sidebar background, layout gradient, primary buttons, and active UI elements. Accepts any hex color value (e.g. #1E3A8A).
Accent Color
Sets the secondary brand color used for accent elements, highlights, and hover states. Accepts any hex color value.
Hide License Tab
When enabled, removes the License tab from the Settings page and hides the “Activate License” link in the header.
Hide Extensions Page
When enabled, removes the Extensions button from the SPA sidebar navigation.
Hide This Settings Tab
When enabled, removes the White Labeling tab itself from the Settings page. This prevents your clients from seeing or modifying the white label configuration. A confirmation dialog with recovery instructions is shown before this option can be enabled. See the Recovery section below for how to regain access.
URL Rebranding
When white labeling is active, the Menu Slug field determines the WordPress admin page URL. For example, if your slug is acme-crm, URLs change from ?page=quillcrm to ?page=acme-crm. All internal SPA navigation links update automatically.
Both the custom slug and the default quillcrm slug remain accessible at all times — old bookmarks and internal links will continue to work regardless of the white label state.
Recovery: Restoring the White Labeling Tab
If you enabled Hide This Settings Tab and need to access the White Labeling settings again, set the following WordPress option in your database:
WP-CLI:
wp option update quillcrm_white_label_show_settings 1SQL (phpMyAdmin / Adminer):
INSERT INTO wp_options (option_name, option_value, autoload)
VALUES ('quillcrm_white_label_show_settings', '1', 'yes')
ON DUPLICATE KEY UPDATE option_value = '1';
After setting this option, the White Labeling tab reappears in Settings. Once you’ve made your changes, you can remove the recovery option:
wp option delete quillcrm_white_label_show_settingsDisabling White Labeling
To fully revert all branding changes, go to the White Labeling settings tab and toggle Enable White Labeling off, then save. All names, colors, logos, URL slugs, and hidden tabs return to their QuillCRM defaults immediately.
Data Storage
White labeling settings are stored in the wp_options table under the key quillcrm_white-label_settings. The recovery flag uses the key quillcrm_white_label_show_settings.