


A Delay is a timing rule that lets you pause an automation or email sequence for a specific period before the next action runs.
It helps you control when messages are sent so users receive them at the right moment—neither too soon nor too late—creating a more natural and thoughtful experience instead of overwhelming them.
Here’s how you can set delays while creating automation in QuillCRM Automations.
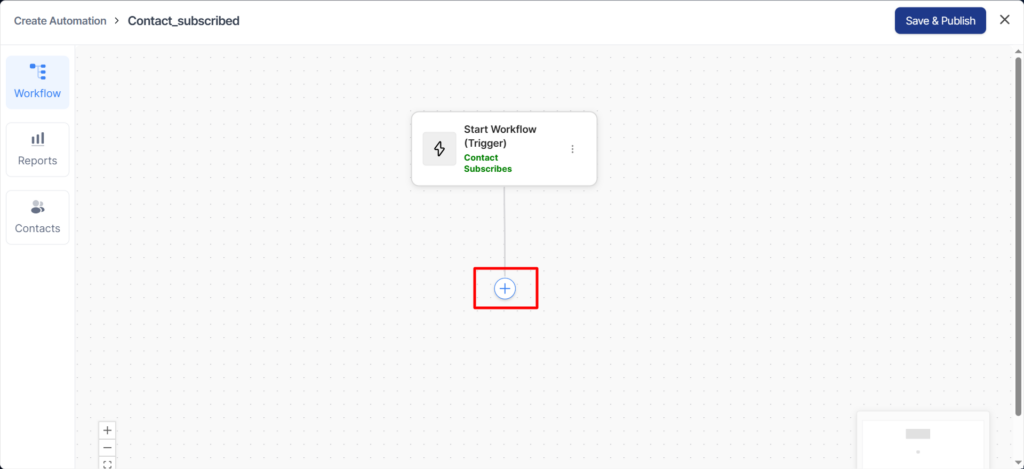
Step 1: Add a delay from the node
Click on the blue (+) icon and then select Delay.
A pop-up window will appear—select the Delay tab from the available options.
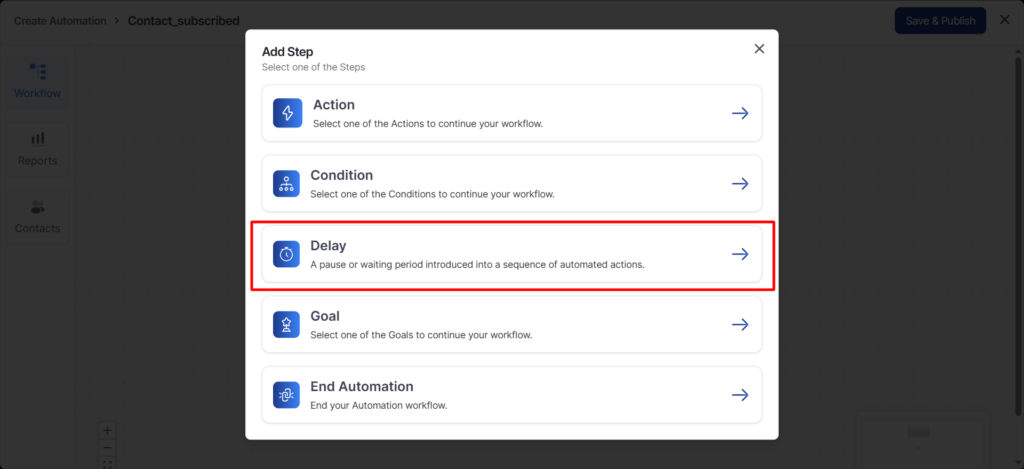
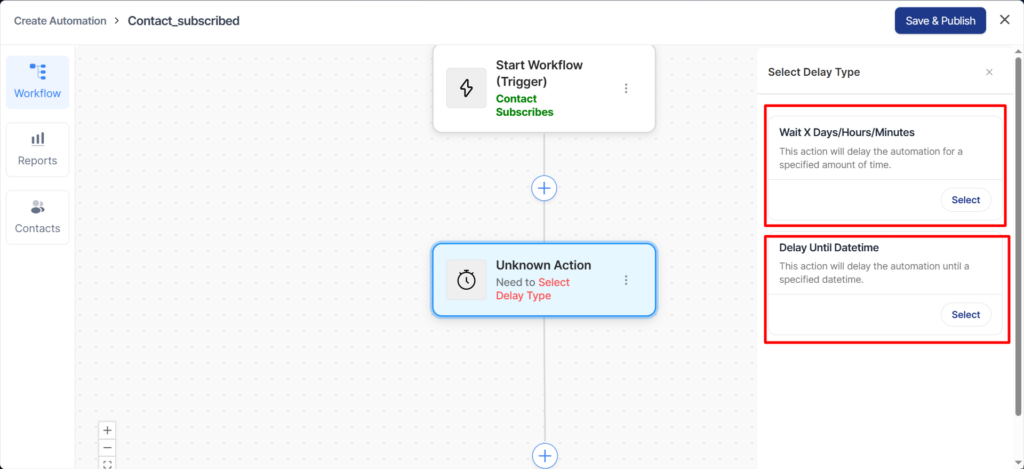
You’ll see another sidebar with two different delay types:
Wait X Days / Hours / Minutes
This delay pauses the workflow for a fixed amount of time before moving to the next step. It’s useful when you want actions to happen after a specific duration, regardless of the date or time.
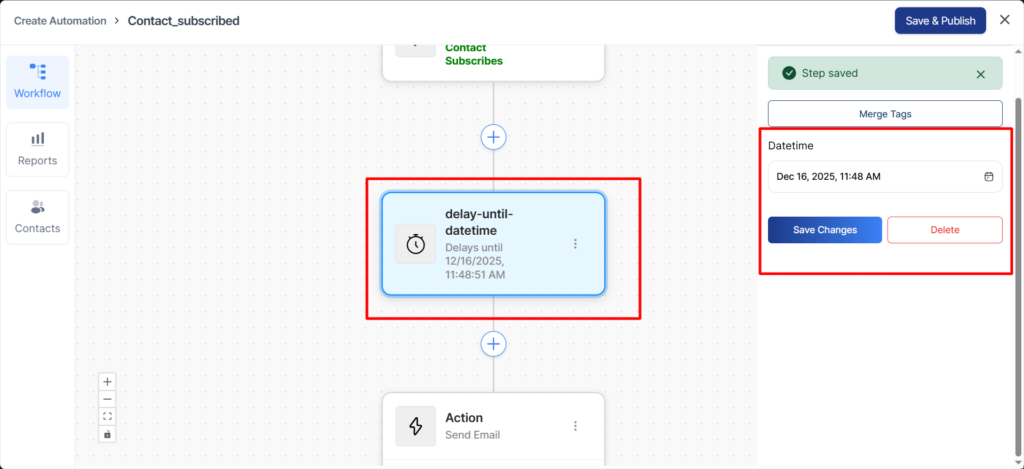
Delay Until Date & Time
This delay holds the workflow until a specific date and time is reached. It’s ideal for scheduling actions to run at an exact moment, such as sending emails on a particular day or at a set hour.
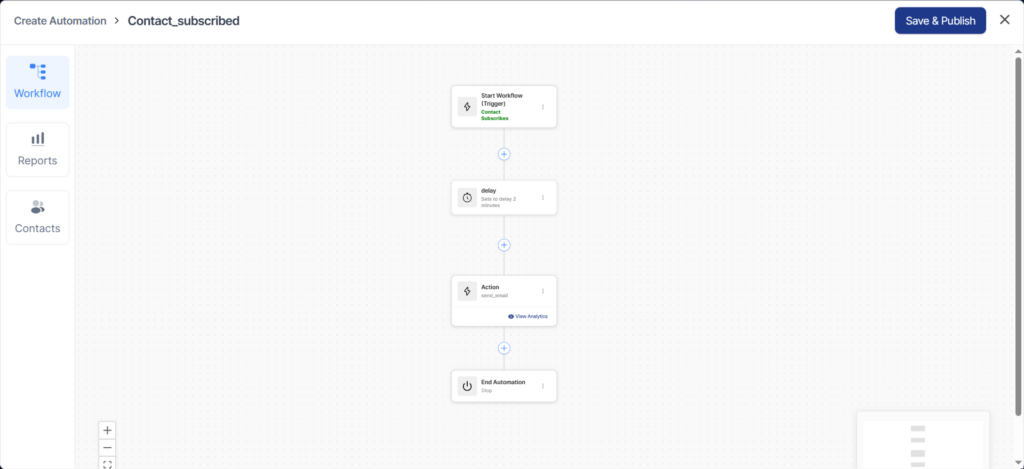
Example: Using Delay in an Automation
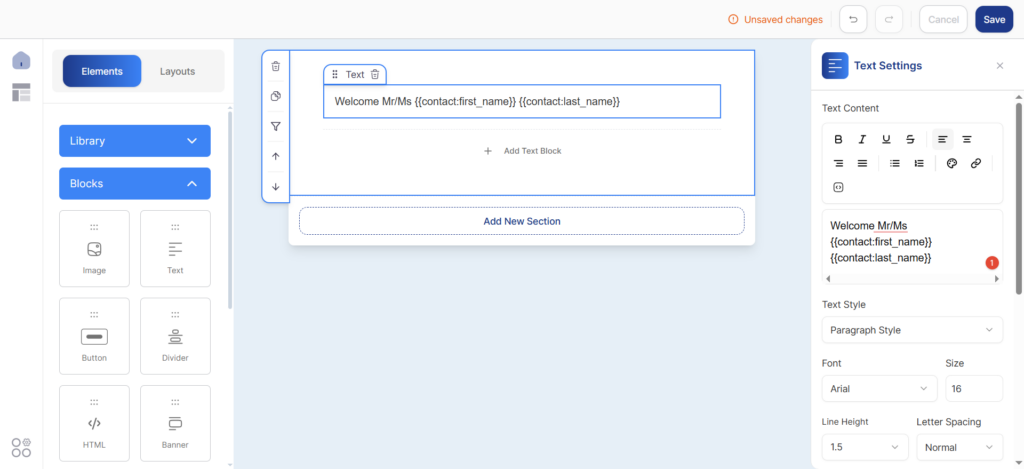
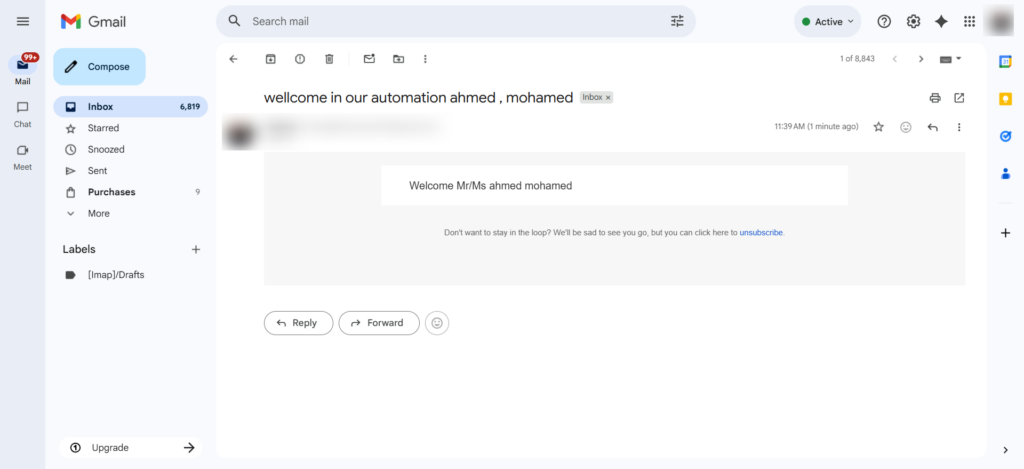
Action: Send a welcome email saying, “Welcome, {Contact Name}”
Trigger: Contact is created
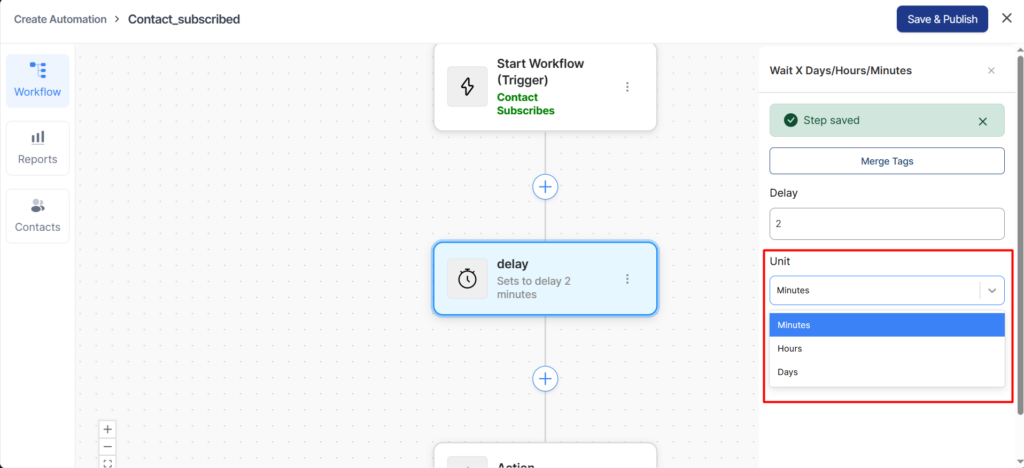
Delay: Wait 2 minutes from type Wait X Days / Hours / Minutes.
All of these steps are part of the automation workflow.
This is the email body that will be sent two minutes after the contact is created.
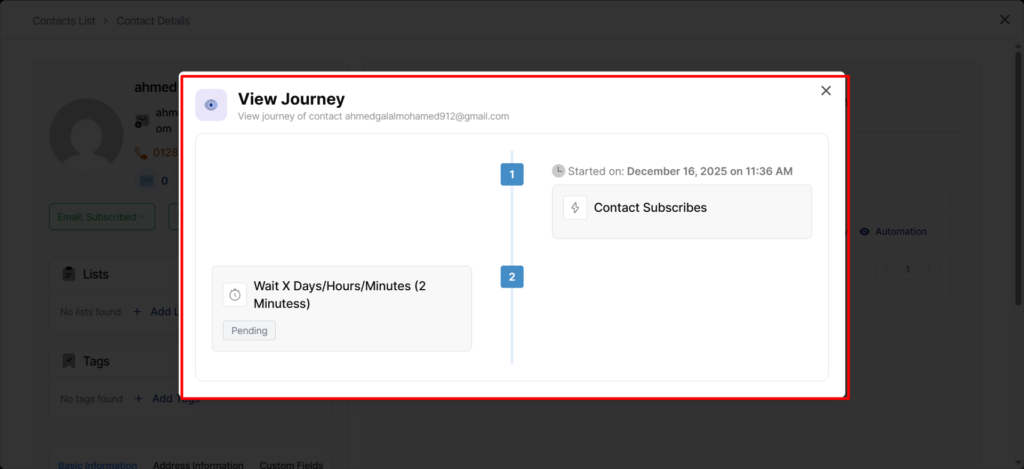
Before two minutes.
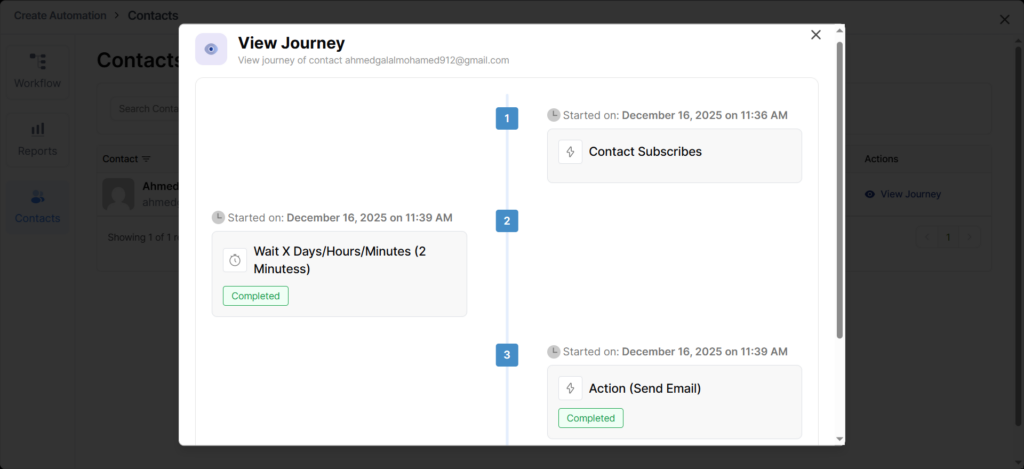
After two minutes.
This email body is sent to the contact’s email address.
Another type from Delay Until Date & Time.
This is how you can set delays within your automation.